This is my Presenting Art Challenge. I did my project with Abi, and we decided to choose a topic we both liked. This Youtube video is about the Green Bay Packers' uniforms, logos, and team names through the years. Enjoy!
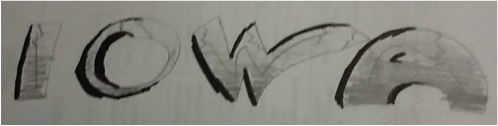
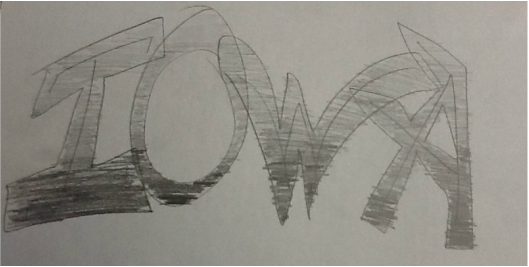
This is my graffiti art tag. I chose the tag of "Iowa" because the U of I is one of my favorite colleges. I didn't want the symbols around the tag to be about me, so I made them reflect Iowa's activities. Below is my finished tag, and even further below are the rough drafts of my tag. 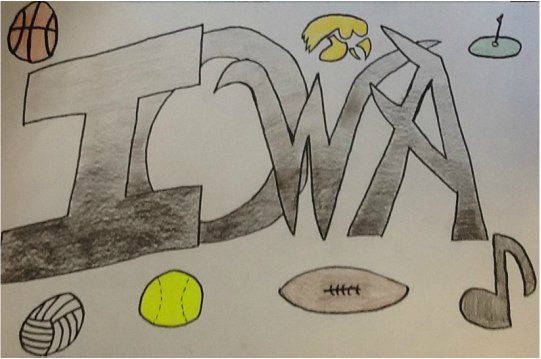
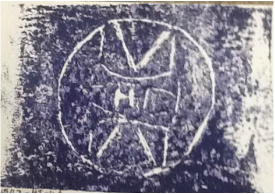
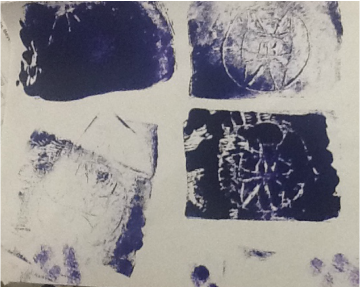
This is my Responding Challenge, which was the Impact of Images. I chose the theme of grandparents, and how valuable the can be in your life depending on your age. For my next art challenge, I chose to do an animation with crayon melting. The first thing you do in this process is hot glue the crayons to your canvas. Next, you use the hair dryer to melt the crayons. An issue that came up while completing this project was holding the hair dryer correctly. If you held the hair dryer straight on, the melting crayon will splatter everywhere. Luckily, I learned that lesson quickly and corrected it. A helpful part in this process was that the crayons dried really fast, which was convenient because I was pinched for time. Go ahead and click on the video on YouTube to see the melting process. Below is also a picture of the completed melted crayon canvas. 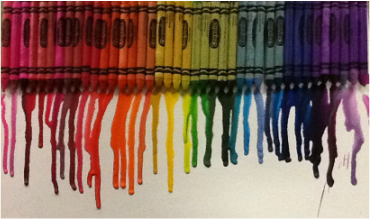 For my first challenge, I completed a 2D project. It was of a very detailed eye. I used a step-by-step picture as my guide, but ultimately I added my own touch to it. The changes I added were fairly subtle, but I' feel like it made a big difference. Thicker and bolder marks to make the eyeline stand out, darker and thicker eyebrow hairs, and kind of contouring the eye (like a person might with eyeshadow) on the eyelid are my changes I'm most proud of. Below are pictures of my final 2D project and my step-by-step- guide. [Essential Question...] I think ambition and excitement can encourage people to take creative risks. This was a fun project that I'm very proud of! 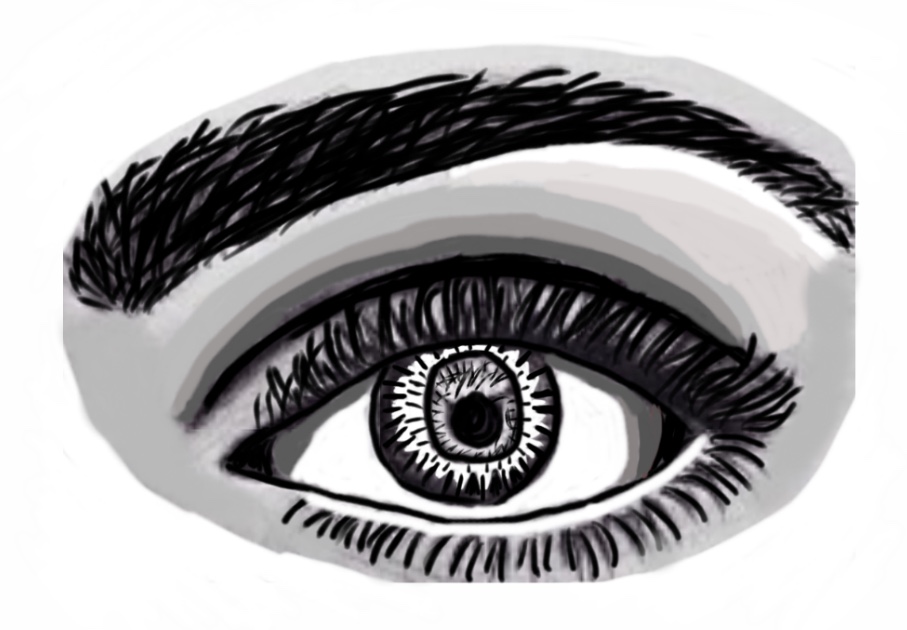 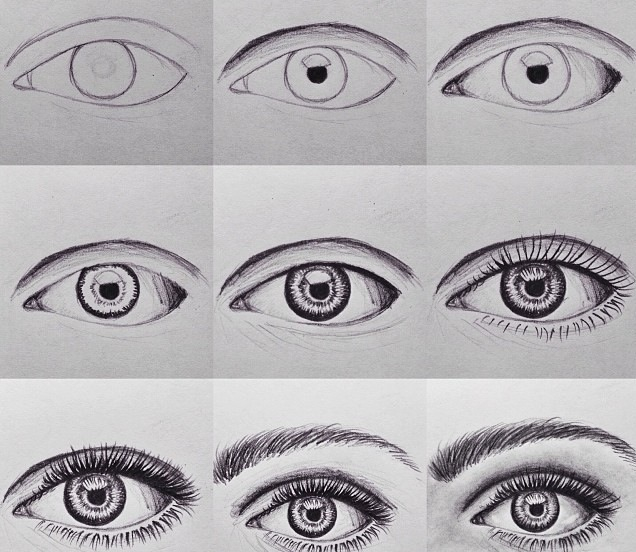 The printmaking process seems difficult at first, but when you get the hang of it, it is really simple! The first step is to carve a sketch into your lino block. The carving tools are sharp, you you must be very careful. That's why we use a stopblock. Whatever you choose to carve will result in it becoming white. You can also carve sporadically which will give you a neat, chatter look. Next, it's time to make your stamps! You cover your stamp in printmaking ink with a tool called a brayer. You need to make sure that when you press down, you have the right amount of ink on your stamp. Having too much will result in a big blob of ink on your paper, and having too little will result in you barely being able to see your stamp. My run was a very long one. A run is how many prints you create at a time. After 17 attempts, (yes, 17!) i FINALLY figured it out! Below you will see a couple of my not-so-pretty ones, and my final print. This was a great learning experience!
The first project our art class had done was a Logo Design Project. Our logo had to define us: our likes, hobbies, initials, etc. First, we had to create three different sketches so we had a variety to choose from. One of my sketches is of an Iowa Hawkeye with a softball, volleyball, and my initials on it. Another sketch is a softball with my initials on it. My final and favorite sketch is a volleyball with my initials on it. I chose that particular design for my project because it was simple and symbolic. The picture below is my final, favorite sketch! 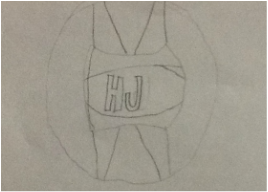 |